For the complete documentation index, see llms.txt. This page is also available as Markdown.

Create a Dataset Version

Create a dataset version for use in training a model.

About

A version is a point-in-time snapshot of your dataset. We keep these versions since by keeping track of exactly which images, preprocessing, and augmentation steps were used in each iteration of your model, you maintain the ability to reproduce the results. This allows you to scientifically test across various models and frameworks while remaining confident that the results are attributable to the model changes and not due to a bug/change in the data pipeline.

Key Concepts: What are Workspaces & Projects?

Once a version is created, it is frozen in time, which means changes to the project whether that be adding/removing images, annotations, or other data, won't affect versions that were created before.

Web App

How To Create a Dataset Version

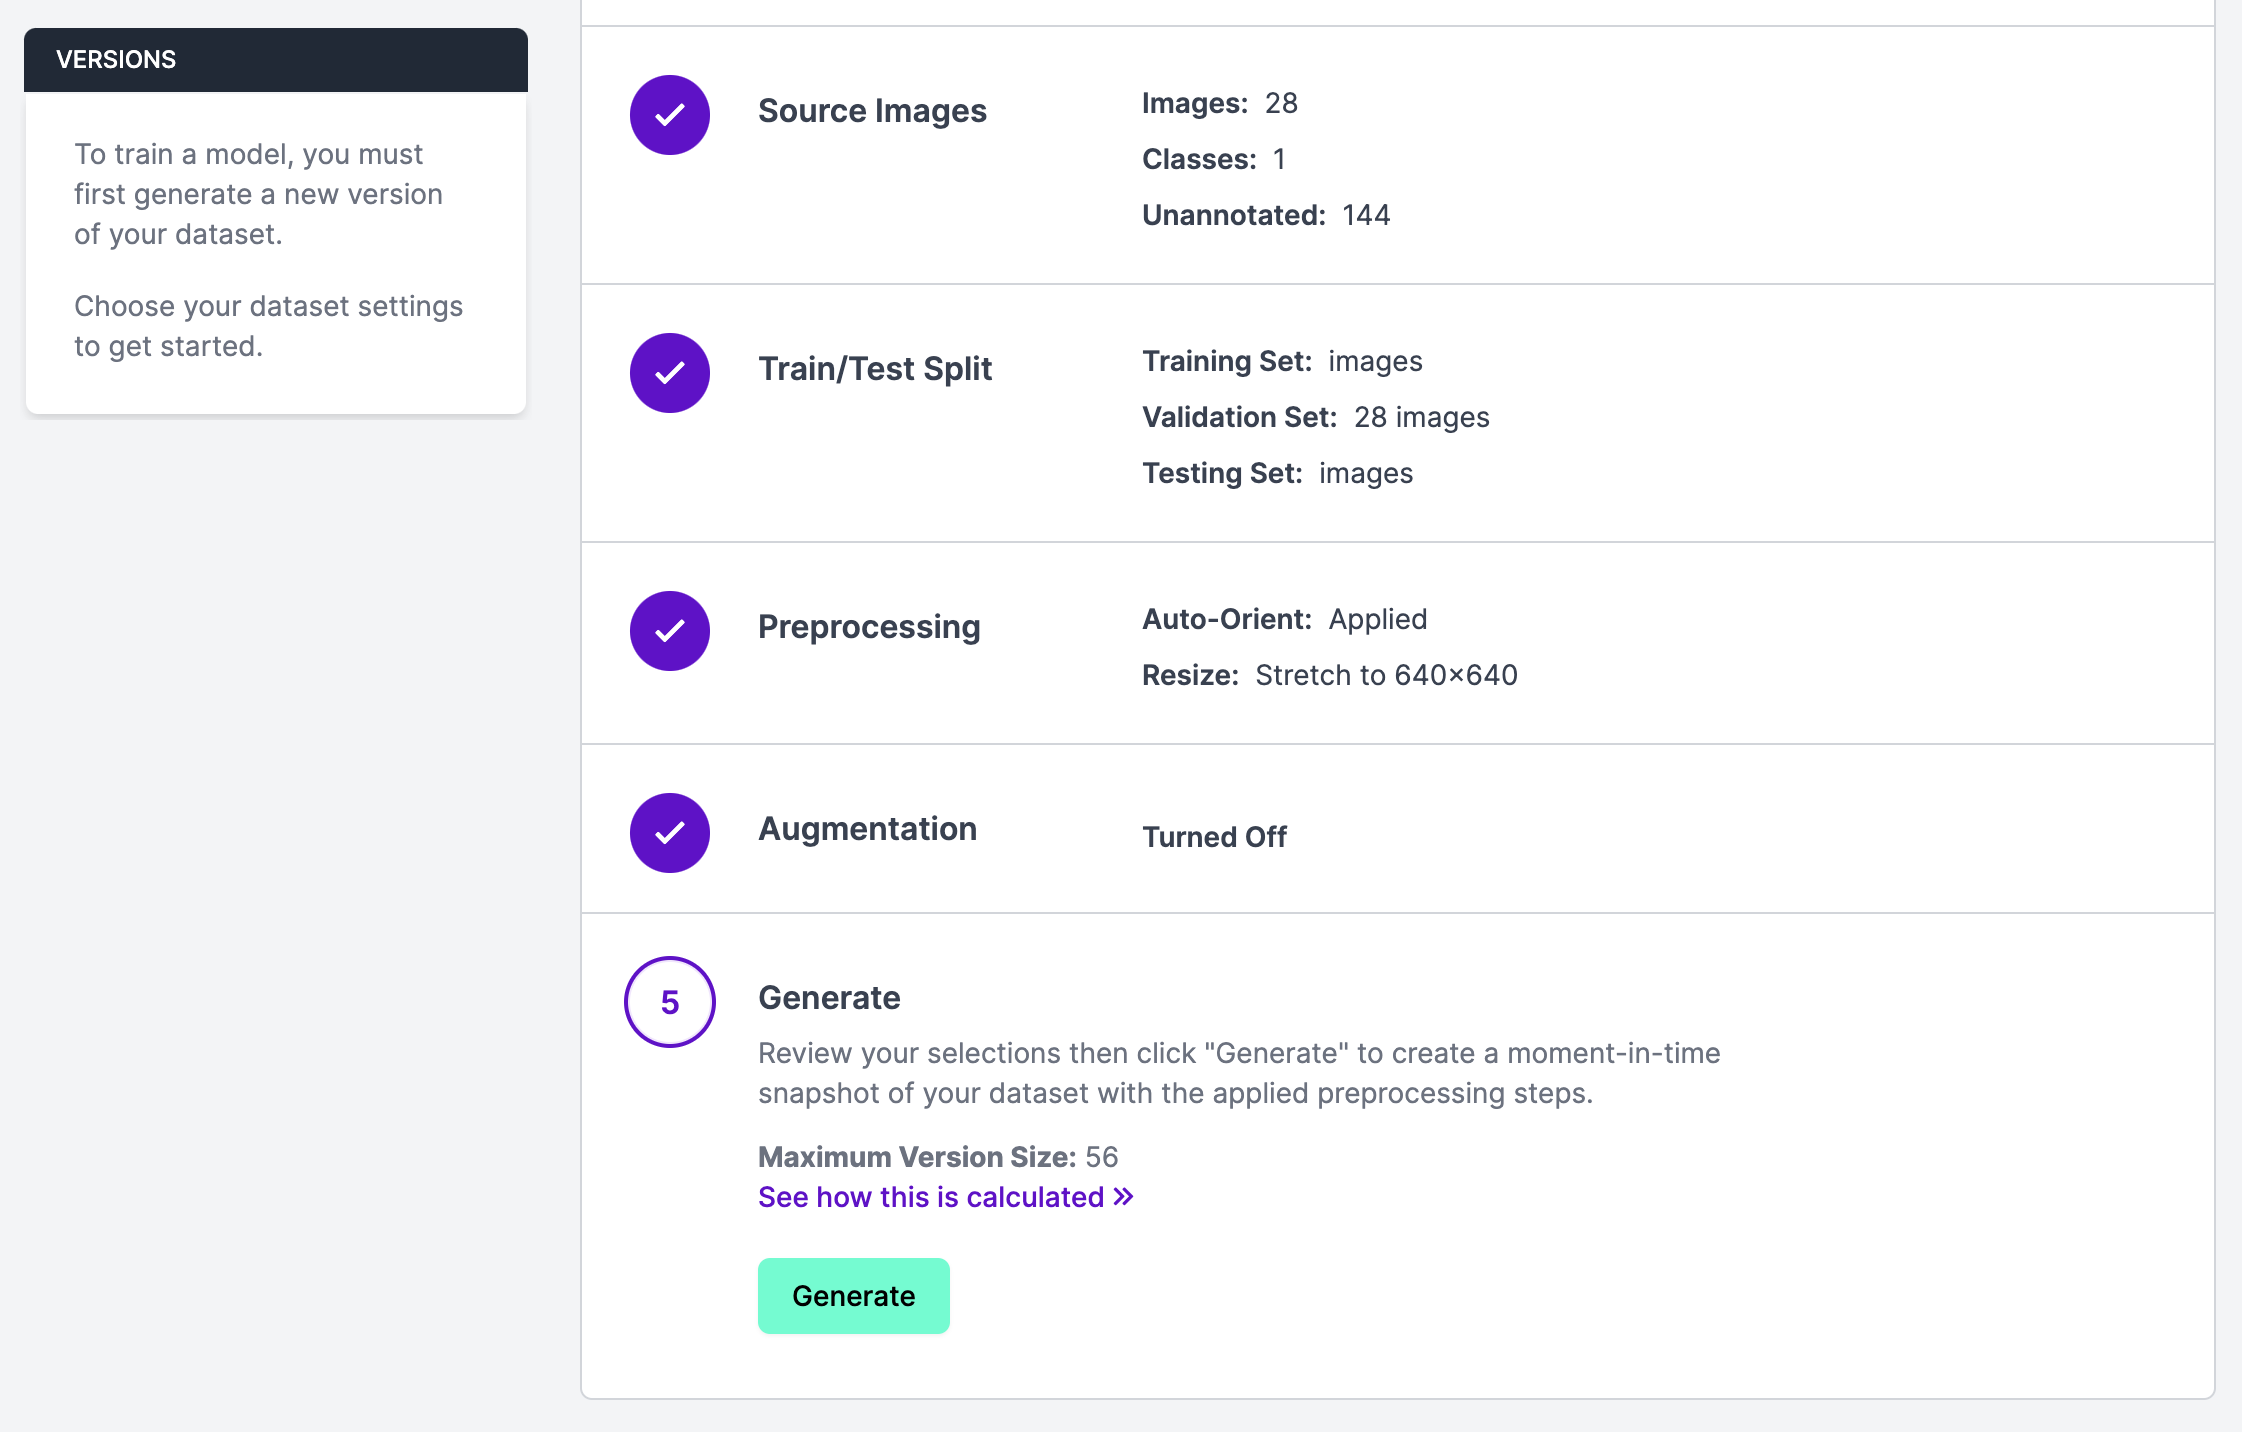
To create a dataset version, click "Versions" in the sidebar associated with your Roboflow project. Then, click "Generate New Version".

From this page, you can set a train/test/valid split and specify preprocessing steps and augmentations for your new dataset version.

Once you have specified the preprocessing steps and augmentations you want to apply to your data, click "Generate". This will generate a new dataset version. You can then use this dataset version to train a model in Roboflow. You can also export your dataset for use in training a model manually.

Readjusting Train/Validation/Test Splits

During the version creation process, you can also readjust the balance of your training, validation and test set splitting. To do this, go to "Step 2: Train/Test Split" and click the "Rebalance" button.

The recommended split is 70/20/10 (train/valid/test), a strong starting point for most datasets. Click "Reset" to restore it at any time.

Set the train, validation, and test percentages, then choose how images are reassigned:

  • "Move as few as possible" keeps images in their current split and only moves enough to reach the target percentages.

  • "Random shuffle" randomly reassigns every image across the splits.

  • "Random shuffle per upload batch or annotation job" shuffles each upload batch or completed annotation job separately, so every batch and job matches the target percentages.

You can also scope the rebalance to specific classes. Selecting classes limits moves to images that contain only those classes and switches the method to "Move as few as possible".

For large datasets, the rebalance runs as a background task with per-phase progress. You can dismiss the dialog while it continues, and track it in the Activity Center.

HTTP API

Rebalance Train/Validation/Test Splits

Rebalance a Project's splits by making a POST request to the /:workspace/:project/splits/rebalance endpoint. This changes the splits on the Project itself, so the next version you generate uses the new balance.

The rebalance always runs as a background task. The request returns 202 Accepted with a task ID and a polling URL. Poll the returned url, or call GET /:workspace/asynctasks/:id with the taskId, until the task completes.

The calling API key must have the project:update scope and permission to edit splits in the Workspace.

Example Request

Parameters

Example Response

Python SDK

A version freezes a snapshot of the project's labeled data with a chosen set of preprocessing and augmentation steps applied. Train against a version, not against the project directly.

Project.generate_version() returns the new version number, which you can pass to project.version(...) to get a Version handle.

augmentation.image.versions is the maximum version size multiplier, and your plan caps it. Generation fails if you set it higher. See Limiting Augmentations.

Here is a full example of the settings. There is a detailed explanation for each property below.

tile also takes the fixed tile modes: {"mode": "fixed_size", "tileWidth": 640, "tileHeight": 640, "overlap": 5, "padding": "black"} or {"mode": "fixed_aspect", "aspectRatio": 1, "span": "width", "overlap": 5, "padding": "black"}. See Tile.

Last updated

Was this helpful?