> For the complete documentation index, see [llms.txt](https://docs.roboflow.com/llms.txt). Markdown versions of documentation pages are available by appending `.md` to page URLs; this page is available as [Markdown](https://docs.roboflow.com/deployment/self-hosted/enterprise/deployment-manager/setting-up/add-a-stream.md).
# Add a Stream
Learn how to configure a stream that you can use to run a Workflow.
To run a Workflow on your edge device managed by Deployment Manager, you need to add a Stream. A Stream accepts a camera feed as an input and runs the data from the camera on a chosen Workflow.
To add a Stream, you will need:
* A device set up with Deployment Manager.
* A camera available to the device
* A Workflow that you want to deploy on your device.
Streams can read cameras configured via:
* An RTSP stream, or;
* A webcam plugged directly into your edge device via USB
* A Basler camera connected via GigE (Ethernet) or USB 3.0
* A Lucid camera connected via GigE (Ethernet)
{% hint style="info" %}
Basler and Lucid industrial cameras are available on Enterprise plans. To enable them, [contact the sales team](https://roboflow.com/sales).
{% endhint %}
Adding a Stream has three steps:
1. Add camera information
2. Choose a workflow.
3. Review configuration.
### Add Camera Information
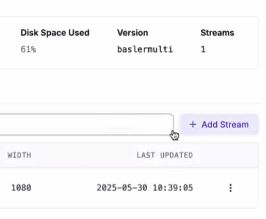
To add a Stream, click on a Device you have registered with Deployment Manager from your dashboard, then click "Add Stream":
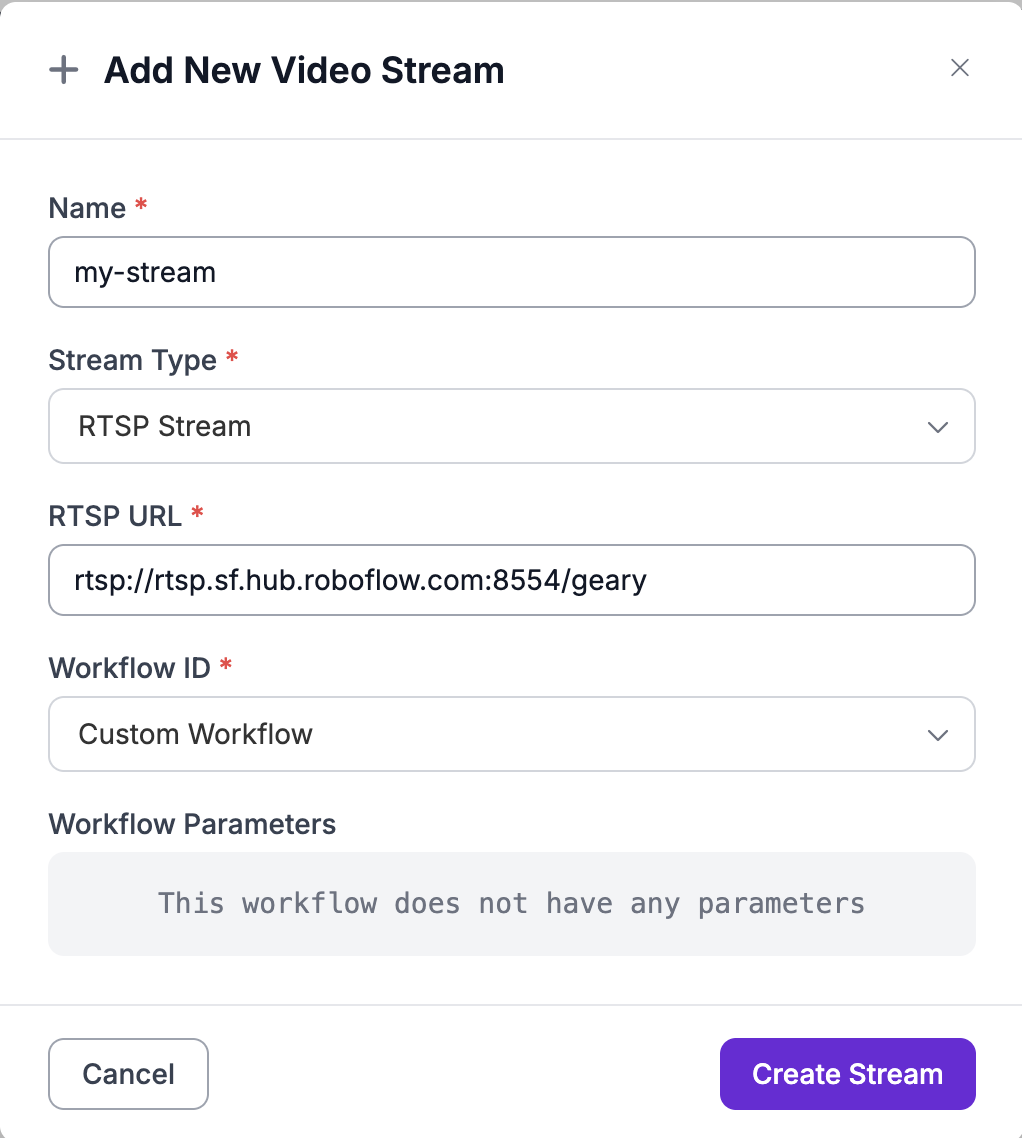
A window will then appear in which you can configure your Stream:
In this window, fill out:
1. The name for your Stream.
2. The stream type (ex: "RTSP Stream", "USB Camera", "Basler Camera", "Lucid Camera").
3. The video source for that stream type:
* "RTSP Stream": the "RTSP URL" of the camera.
* "USB Camera": the "Camera Index" of the camera plugged into your device. If you have only one camera plugged in, this is likely 0.
* "Basler Camera": the "Serial Number" of the camera. See [Basler Cameras](#basler-cameras) below.
* "Lucid Camera": the "IP Address" of the camera, prefilled from camera discovery. The Stream connects to the camera at that address, and Roboflow keeps that address [assigned to the camera](/deployment/self-hosted/enterprise/deployment-manager/making-changes/set-camera-static-ip.md). Leave the field empty to fill in "Camera Index" instead, which connects to whichever Lucid camera holds that position.
4. Select a Workflow to run on the stream.
5. Select a Mode: "Continuous" (default) runs the Workflow on every frame, while "Triggered" only runs the Workflow when explicitly triggered. See [Trigger a Stream](/deployment/self-hosted/enterprise/deployment-manager/making-changes/trigger-a-stream.md) for the triggering options.
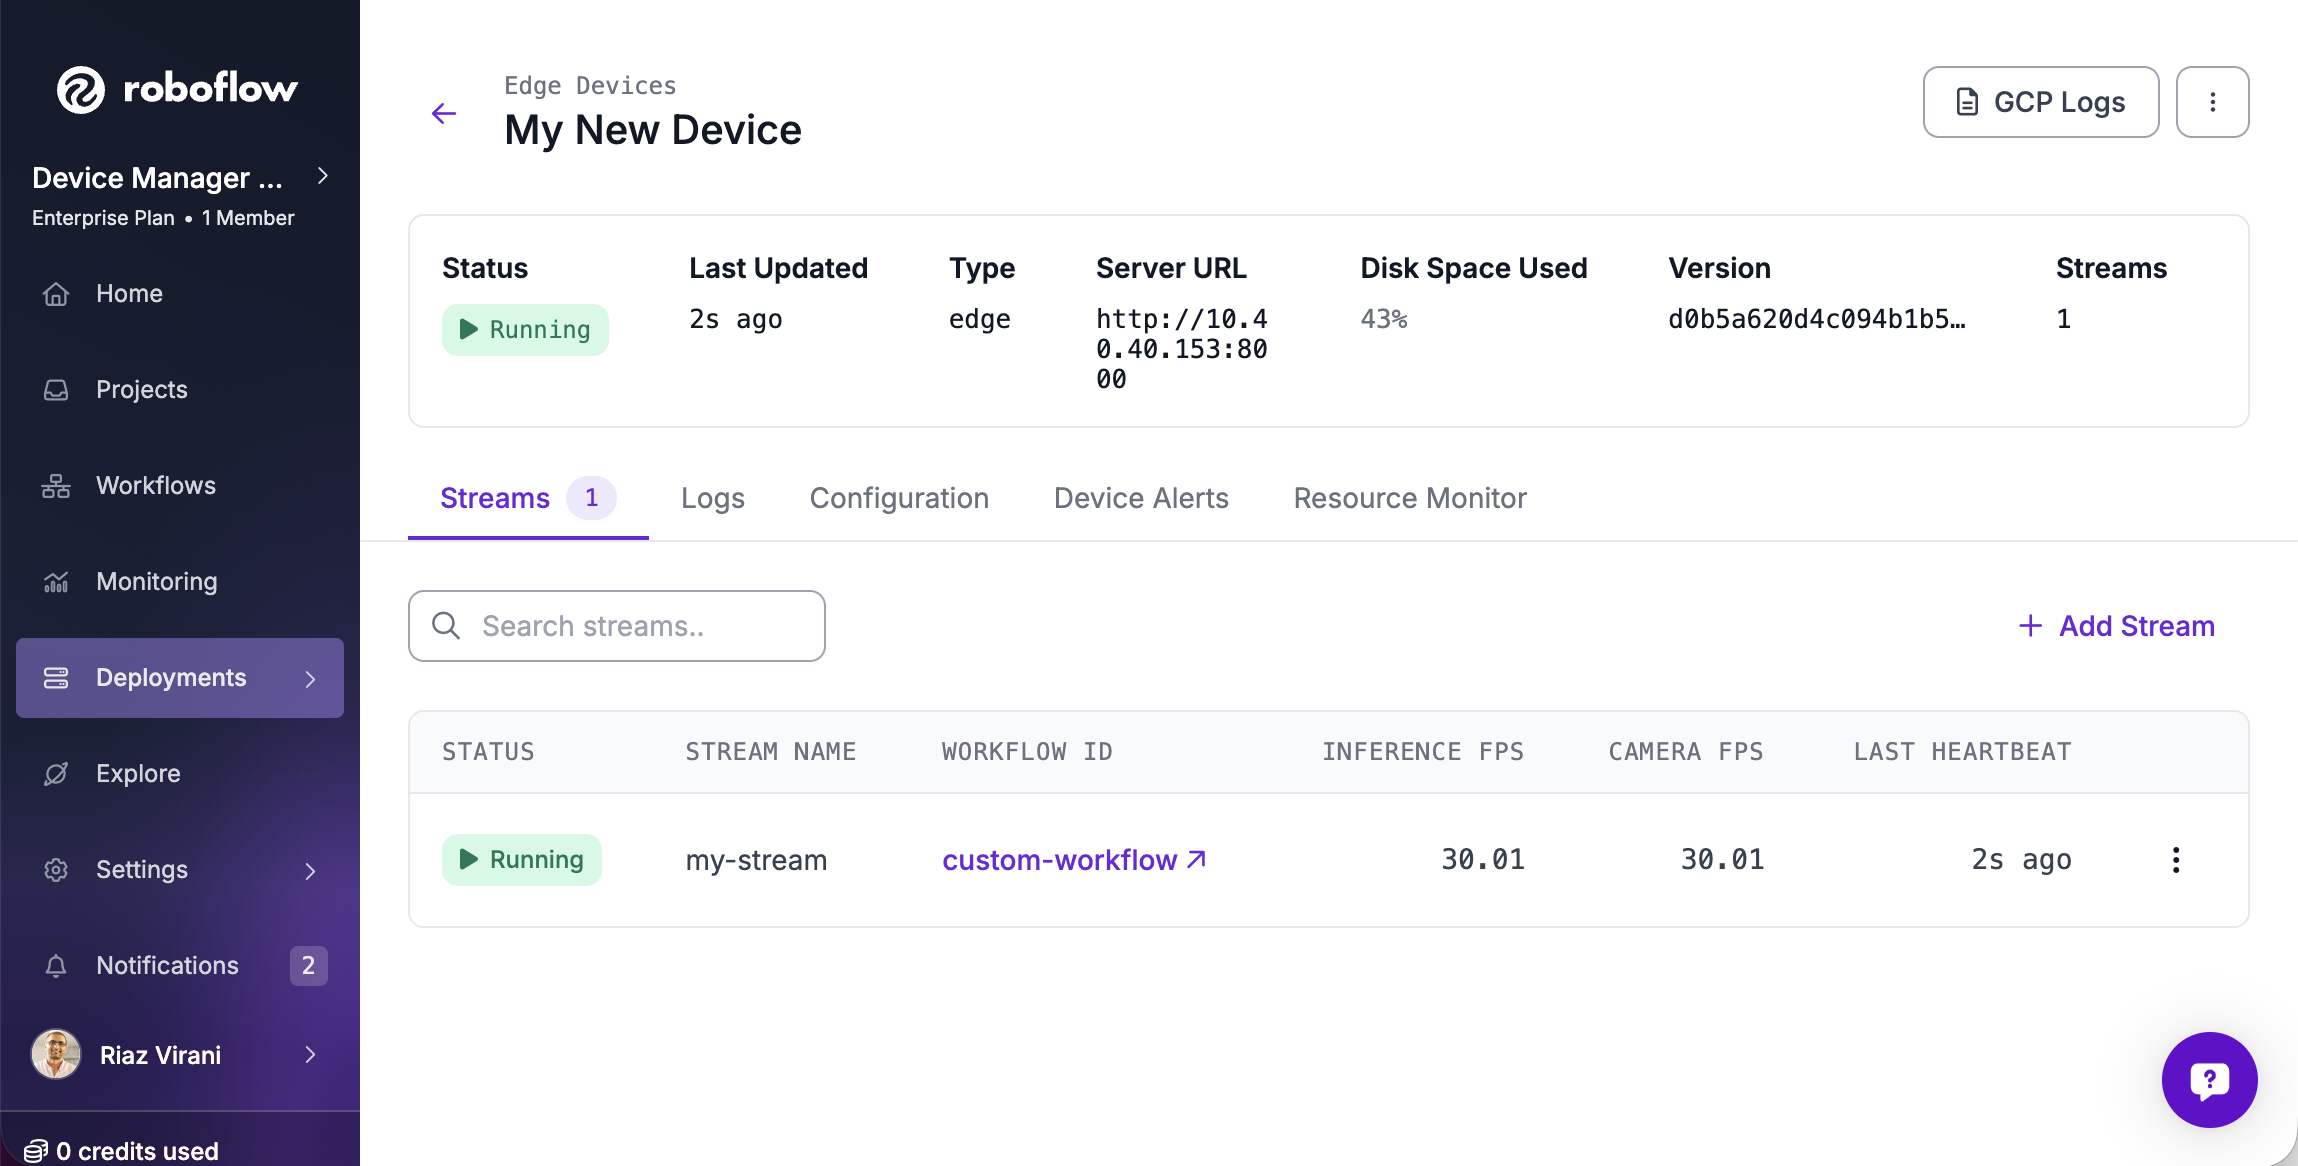
Once you have filled out this information, click "Create Stream" to proceed to set up a Workflow with your Stream. Initial set up of a new stream can take several minutes as the device downloads the workflow and any associated model weights. Eventually, the Stream will appear in your list of Streams:
When you first add the Stream, the status will show that your Stream is "Provisioning". Once your Workflow is downloaded to your device and is running, the status of your Stream will update to "Running".
When the stream status is "Running", this means:
1. Your Workflow is running on your device.
2. You can view frames and logs from your Stream.
### Basler Cameras
Enter the serial number only. Edge works out whether the camera is GigE or USB, and for GigE it finds the port and sets a compatible IP when the stream starts. Older streams set up with an IP address keep working until you enter a serial.
In the discovered cameras table, a "Network mismatch" badge means Edge will readdress the camera itself. "Network review" means the port is shared or carries the default route, so [set the IP yourself](/deployment/self-hosted/enterprise/deployment-manager/making-changes/set-camera-static-ip.md). If the row's button reads "Set Up Camera Port", the camera needs a [dedicated camera port](/deployment/self-hosted/enterprise/deployment-manager/making-changes/configure-device-network.md#dedicated-camera-port) first.
### Workflow Compatibility
When you choose a Workflow, Roboflow checks it against the inference version running on the device. A red X next to the Workflow field means the device cannot run that Workflow. Hover over the icon to see which block is not supported and why. To fix it, update the inference service version on the device [Configuration page](/deployment/self-hosted/enterprise/deployment-manager/making-changes/update-device-configuration.md).
The check uses what the device reports about itself. Devices that have not reported their supported blocks yet show no icon.
### RTSP Credentials
If your camera needs a username and password, enter them in the "Username" and "Password" fields instead of adding them to the RTSP URL.
Devices that support encrypted credentials also show a "Store credentials encrypted" checkbox. Leave it checked to store the username and password encrypted on the device rather than in the stream URL.
Saved credentials are not shown again. The fields read "Saved (enter to change)", and you need to enter both to replace them. To store credentials in the URL instead, enter both, uncheck the box, then save. Until you do that, the encrypted credentials stay on the device and take priority over any credentials in the URL.
### RTSPS Certificates
An RTSP URL that starts with `rtsps://` connects over TLS, and the device checks the camera's certificate. If your camera presents a self-signed certificate, check "Allow self-signed TLS certificate". The checkbox only appears for `rtsps://` URLs, and it clears if you change the URL back to `rtsp://`.
This setting applies to the whole device. Turning it on for one stream skips certificate checks for every RTSPS stream on that device. When you can, add the issuing certificate under "CA Certificates" on the [Configuration page](/deployment/self-hosted/enterprise/deployment-manager/making-changes/update-device-configuration.md) instead.