> For the complete documentation index, see [llms.txt](https://docs.roboflow.com/llms.txt). Markdown versions of documentation pages are available by appending `.md` to page URLs; this page is available as [Markdown](https://docs.roboflow.com/platform/workspaces/roboflow-workspaces.md).
# Create a Workspace
Create a workspace to organize your projects and collaborate with your team.
All computer vision projects in Roboflow belong to a workspace. Creating a new workspace allows you to invite a separate group of teammates to collaborate on projects, and every workspace is billed separately with its own resources and API keys.
### Create a New Workspace
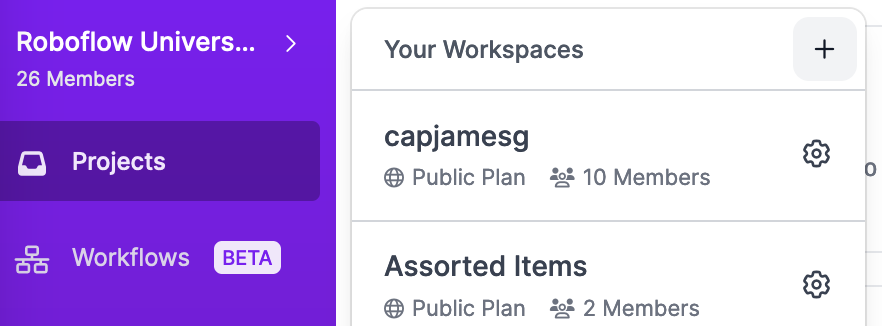
After log in, to create a new Workspace, click on the name of your workspace in the left side panel. Then, click the "+" icon:
### Workspace Setup
Name the Workspace and choose its plan on the first screen, then click "Continue". The name also becomes part of the `workspace ID`. To compare the available plans, check the [Pricing](https://roboflow.com/pricing) page.
Setup ends on the [Roboflow Agent](/agents/roboflow-agent.md) page, where you can start building right away.
To add teammates, [invite them](/platform/workspaces/team-members/invite-a-team-member.md) from the workspace settings Members page.
### Setup Questions
The first Workspace on a new account also asks three short questions: what you want to build, what should happen with the results, and what data you have. Answers are free text. Click "Use example" to drop a sample answer into the field, which you can then edit.
Roboflow passes your answers to the Agent as the first message of a new chat, so it can suggest a starting point without you describing the project again. Click "Skip" on any question to move on, or "Back" to change an earlier answer. If you skip every question, the Agent opens with an empty chat.
Workspaces you create later go straight from the plan screen to the Agent and do not ask these questions.
### **Renaming Workspaces**
Click the pencil-shaped icon next to the workspace name on the Agent page for the workspace.
Enter the new workspace name and click "Save"
Renaming a workspace
***Note:***** Renaming a workspace will update the workspace ID.**
### **Workspace Settings**
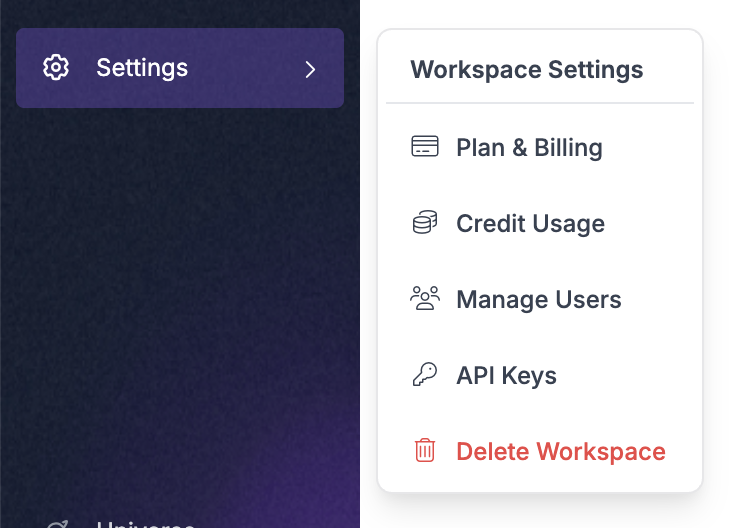
Select `Settings` in the left sidebar to open the Workspace Settings menu.
Workspace Settings Menu
* **Plan and Billing** - View your current workspace plan, how to add Billing Info, and more workspace upgrade options
* **Usage** - Workspace Features and Usage (all-time and by month)
* Team Members, Projects, Source Images, Generated Images, Inference Usage (view and download charts)
* **Members** - View workspace members, member roles, status of workspace invitations
* **Roboflow API** - View, copy and revoke Public and Private API Keys
* **Third Party Keys** - Integrations with Microsoft Azure, Amazon Web Services (AWS), Google Cloud Platforms (GCP), OpenAI and Gemini
* **Rename Workspace** - Give the workspace a new name. This will update the `workspace ID`
* **Delete Workspace** - This action is irreversible after confirming deletion. Proceed with caution.
* **Transfer of Ownership** - It is not possible to transfer the creator role. The creator role is a signatory role that is equivalent to an admin but cannot be removed. To have a new designated admin, have the creator of the workspace promote a user to admin or keep the creator email active.
### Deleting a Workspace
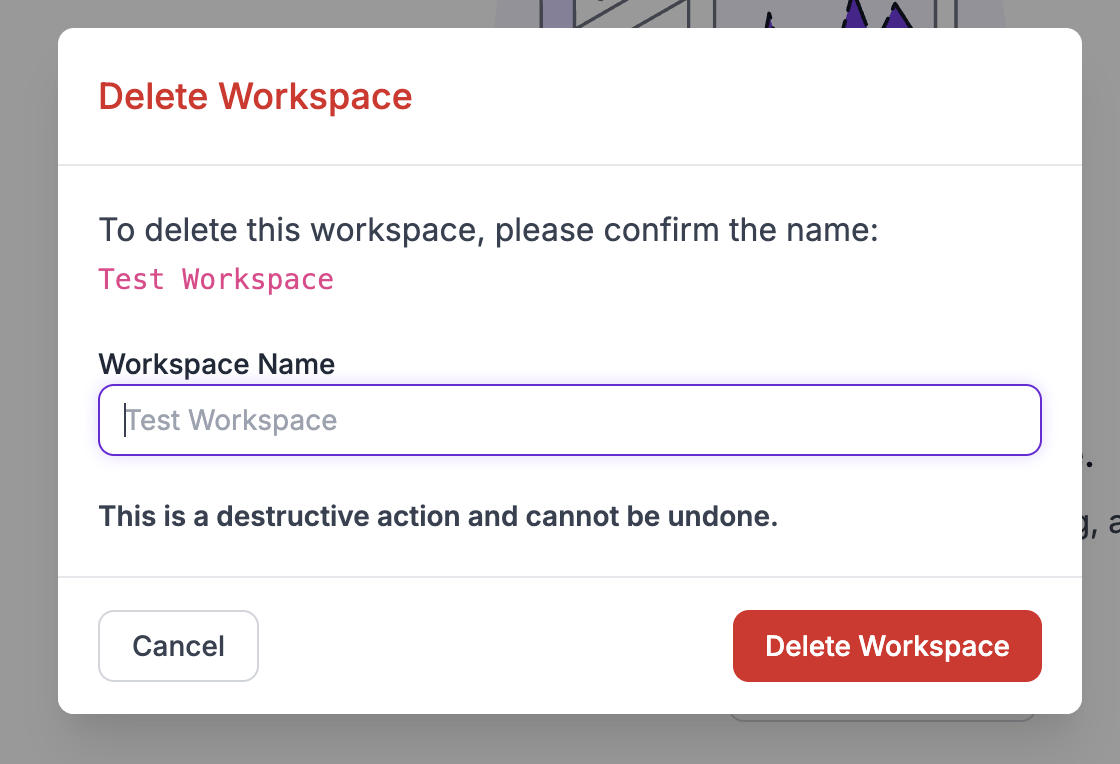
Once you are finished with your projects in Roboflow, you may delete your workspace. Deleting a workspace is a permanent action. To delete your workspace, click on the workspace settings menu and click **Delete Workspace**. As shown below, you will be required to confirm this action - deletion **cannot be reversed**.
Type in the name of the workspace to confirm deletion.
.png?alt=media)
.png?alt=media)